Description
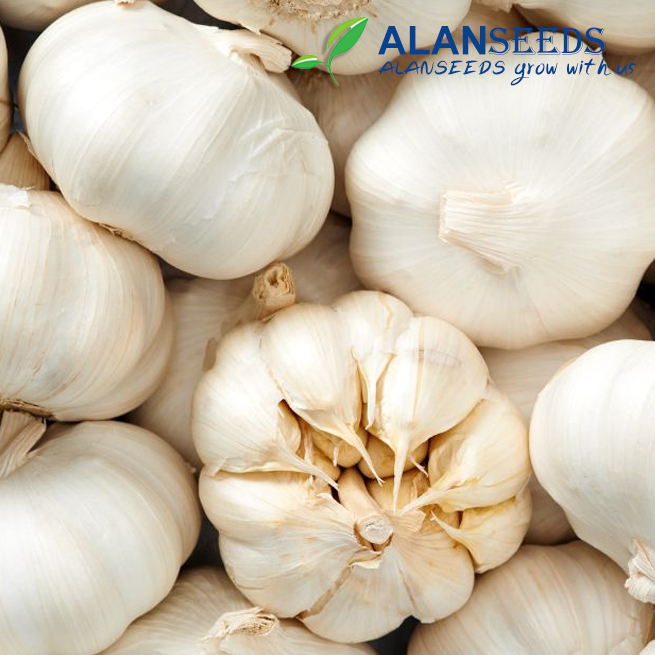
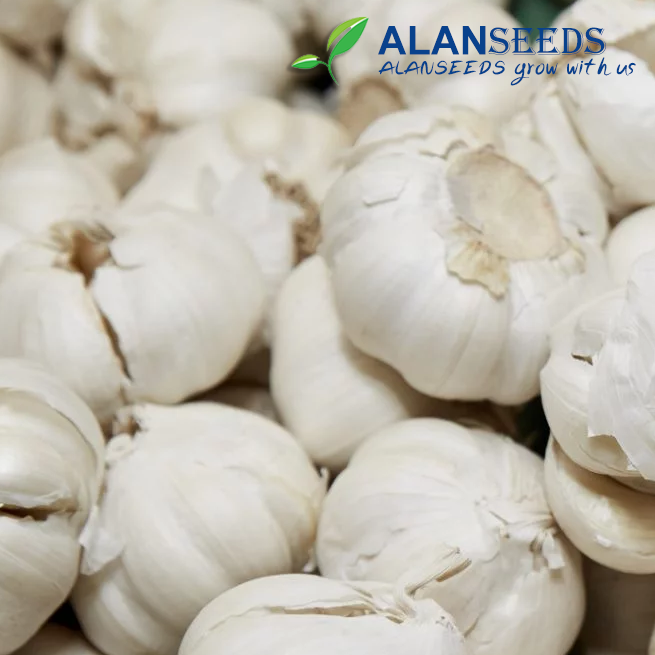
Garlic Organic Seeds – Heirloom, Open Pollinated, Non GMO – Grow Indoors, Outdoors, In Pots
100% Organic Seeds We offer the highest quality 100% organic seeds online at the best price. All our seeds are non GMO and are harvested using sustainable practices. Most folks don’t need hundreds of single crop seeds for their backyard gardens. We offer smaller batches so you can grow different fruits, vegetables, herbs and spices.
Easy-Peasy Guide to Growing Garlic from Organic Seeds
Hey there, future garlic-growing pro! Ready to dive into the wonderful world of growing your own garlic? Awesome! Let me break it down for you in super simple steps.
Step 1: Get Your Garlic Seeds
First things first, you need some garlic seeds. Look for the good stuff – organic, heirloom, open-pollinated seeds. No GMOs here! You can grab these seeds from local markets, nurseries, or online seed stores. Make sure you pick varieties that suit your climate.
Step 2: Find Your Planting Spot
Now, where are you gonna plant these garlic babies? Garlic loves the sun, so pick a sunny spot if you're growing outdoors. If you're keeping things indoors, find a sunny window for your garlic to soak up some rays. Make sure the soil drains well, too – garlic doesn't like wet feet!
Step 3: Plant Your Garlic
Time to get those hands dirty! Break your garlic bulbs into cloves, keeping the papery skin on. Plant them pointy end up, about 2 inches deep and 4-6 inches apart. If you're using pots, one clove per pot should do the trick.
Step 4: Water and Wait
Give your garlic a good drink after planting. Keep the soil moist, but not soggy. Garlic takes its sweet time to grow, so be patient. In a couple of weeks, you'll start to see some green shoots popping up – that's your cue that things are happening!
Step 5: Show Some Love
Your garlic doesn't need a ton of attention, but a little TLC never hurts. Keep the area around your garlic weed-free to give them room to shine. If you see any flower stalks (scapes), you can snip them off to help the bulbs grow bigger and tastier.
Step 6: Harvest Time
Alright, it's the moment of truth – harvest time! When the tops of your garlic start to turn yellow and flop over, it's time to dig 'em up. Gently loosen the soil around the bulbs and pull them out. Brush off any excess dirt and let them dry in a warm, airy spot for a couple of weeks.
Step 7: Enjoy Your Garlic Goodness
Congratulations, you've grown your own garlic! Now it's time to put those tasty bulbs to good use. Whip up some garlicky goodness in the kitchen or share your harvest with friends and family. Oh, and don't forget to save a few bulbs for planting next season – the garlic-growing adventure never ends!
See, growing garlic isn't so hard, is it? With a little love and attention, you'll have a bounty of delicious garlic in no time. So go ahead, get planting, and enjoy the fruits (or should I say bulbs?) of your labor!


