


Hey there, green thumbs! Ready to get your hands dirty and grow some cherry peppers? Whether you’re a seasoned gardener or just starting out, these colorful little peppers are a delight to grow. Here’s a simple guide to get you started:
Thee Cherry Pepper Seeds – Heirloom, Open Pollinated, Non GMO – Grow Indoors, Outdoors
What You’ll Need:
- Cherry pepper seeds (Heirloom, Open Pollinated, Non GMO, of course!)
- Small pots or containers
- Potting soil
- Watering can or spray bottle
- Sunny spot (if growing outdoors)
- Optional: fertilizer
Step 1: Choose Your Seeds
First things first, get your hands on some cherry pepper seeds. Look for heirloom varieties that are open-pollinated and non-GMO for the best results.
Step 2: Prepare Your Pots
Fill your pots or containers with potting soil. Make sure the soil is well-draining and has plenty of nutrients for your peppers to thrive.
Step 3: Plant Your Seeds
Now it’s time to get those seeds in the soil! Plant your cherry pepper seeds about 1/4 inch deep in the soil. If you’re using small pots, you can plant 2-3 seeds per pot.
Step 4: Water Your Seeds
Give your seeds a good drink of water after planting. You want the soil to be evenly moist, but not waterlogged. Use a watering can or spray bottle to water gently.
Step 5: Find the Right Spot
If you’re growing your cherry peppers indoors, place them in a sunny window where they’ll get plenty of light. If you’re growing outdoors, choose a spot with full sun for at least 6-8 hours a day.
Step 6: Care for Your Plants
Keep an eye on your cherry pepper plants as they grow. Water them regularly, making sure the soil stays moist but not soggy. If you’re growing them indoors, you may need to supplement with a grow light to ensure they get enough light.
Step 7: Optional: Fertilize
If you want to give your cherry pepper plants an extra boost, you can fertilize them once a month during the growing season. Look for a fertilizer that’s specifically formulated for peppers or vegetables.
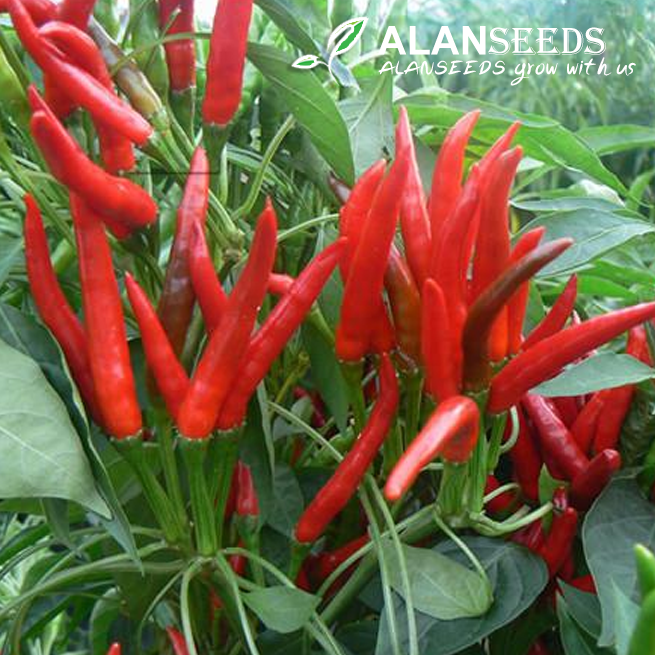
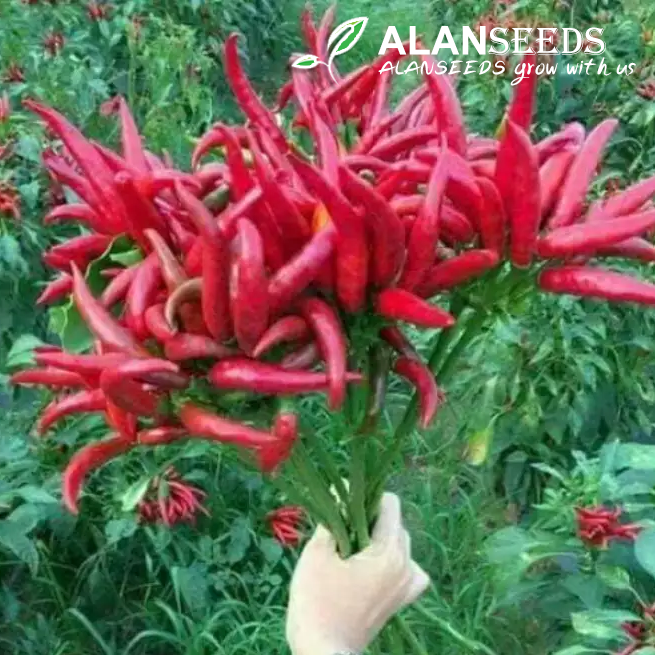
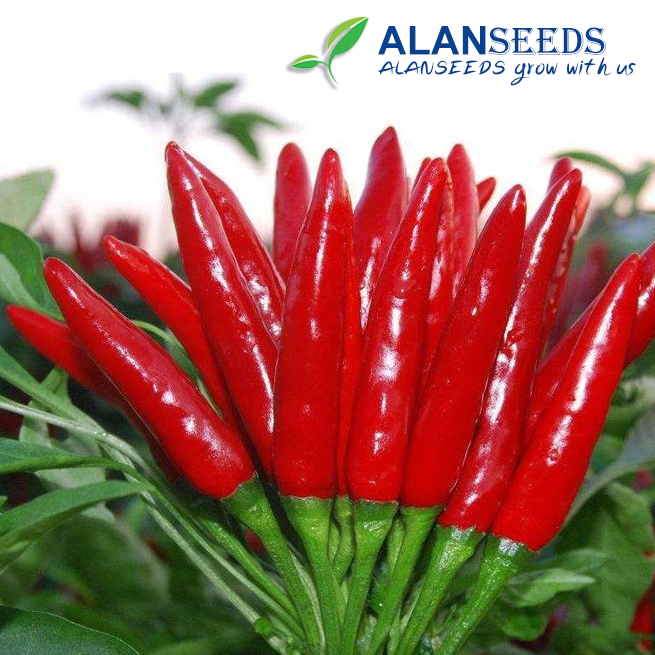
Step 8: Harvest Your Peppers
Once your cherry peppers start to ripen and turn red, they’re ready to harvest! Simply pluck them from the plant with a gentle twist. Don’t be afraid to pick them regularly – the more you harvest, the more peppers your plant will produce.
And that’s it – you’re now a cherry pepper growing pro! Whether you’re enjoying them fresh in salads or pickling them for later, there’s nothing quite like homegrown cherry peppers. Happy growing!
