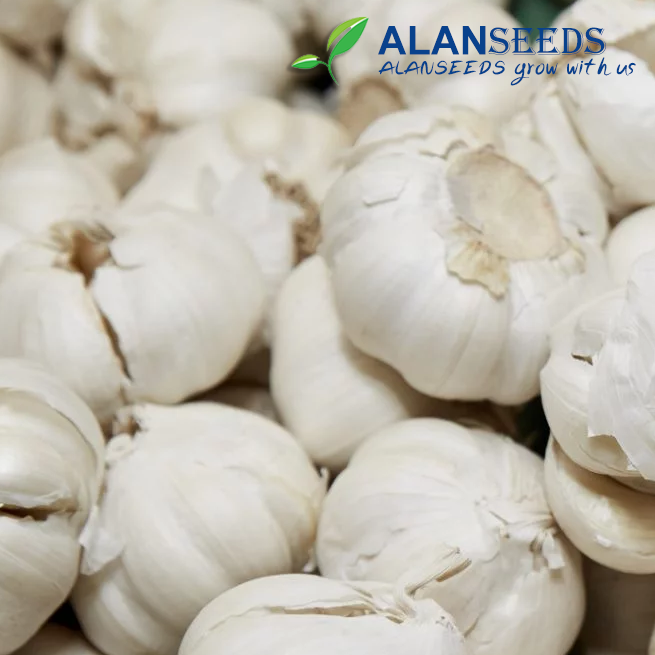
So, you want to grow garlic? Awesome choice! Not only does it add flavor to your dishes, but it’s also super easy to grow. Plus, growing your own garlic means you get to enjoy the satisfaction of harvesting your own fresh bulbs. Let’s dive into how you can grow garlic from organic seeds, whether you have a big garden or just a few pots on your balcony.

Garlic Organic Seeds – Heirloom, Open Pollinated, Non GMO – Grow Indoors, Outdoors, In Pots

Garlic Organic Seeds – Heirloom, Open Pollinated, Non GMO – Grow Indoors, Outdoors, In Pots
Step 1: Get Your Garlic Seeds
First things first, you need some garlic seeds. Look for organic, heirloom, open-pollinated seeds. These are the real deal – non-GMO and full of flavor. You can find them at local nurseries, farmers’ markets, or online seed stores. Make sure you choose varieties suited to your climate.
Step 2: Prepare Your Planting Space
Garlic loves sunlight and well-drained soil. Whether you’re planting in a garden bed or pots, make sure the soil is loose and crumbly. If you’re growing indoors, choose a sunny spot near a window. If outdoors, pick a spot with at least 6-8 hours of sunlight per day.
Step 3: Planting Time
Timing is key when it comes to planting garlic. In most regions, fall is the best time to plant. If you’re in a warmer climate, you can also plant in early spring. Break apart your garlic bulbs into individual cloves, making sure each one has a piece of the basal plate attached. Plant them pointy side up, about 2 inches deep and 4-6 inches apart.
Step 4: Water and Wait
Now that your garlic is in the ground, it’s time to give them a drink. Water your garlic regularly, keeping the soil evenly moist but not waterlogged. Be patient – garlic takes its time to grow. In about 2-3 weeks, you should start to see some green shoots poking through the soil.
Step 5: Care and Maintenance
Garlic doesn’t need a lot of attention, but it does appreciate some care. Keep the area around your garlic weed-free to reduce competition for nutrients. If you notice any flower stalks (scapes) forming, you can trim them off to encourage bulb growth. Keep an eye out for pests and diseases, but garlic is generally pretty resilient.
Step 6: Harvesting Time
Finally, the moment you’ve been waiting for – harvest time! Your garlic is ready to harvest when the tops start to turn yellow and fall over. Use a garden fork or trowel to gently loosen the soil around the bulbs, being careful not to damage them. Once harvested, brush off any excess dirt and let them cure in a warm, dry place for a few weeks.
Step 7: Enjoy Your Garlic
Congratulations, you’ve grown your own garlic! Now it’s time to enjoy the fruits of your labor. Use your fresh garlic in all your favorite recipes, or store them in a cool, dry place for later use. You can even save some bulbs to replant next season and continue the cycle of deliciousness.
Growing garlic is a rewarding experience that anyone can enjoy, whether you’re a seasoned gardener or a total newbie. So roll up your sleeves, get your hands dirty, and start growing your own garlic today!


