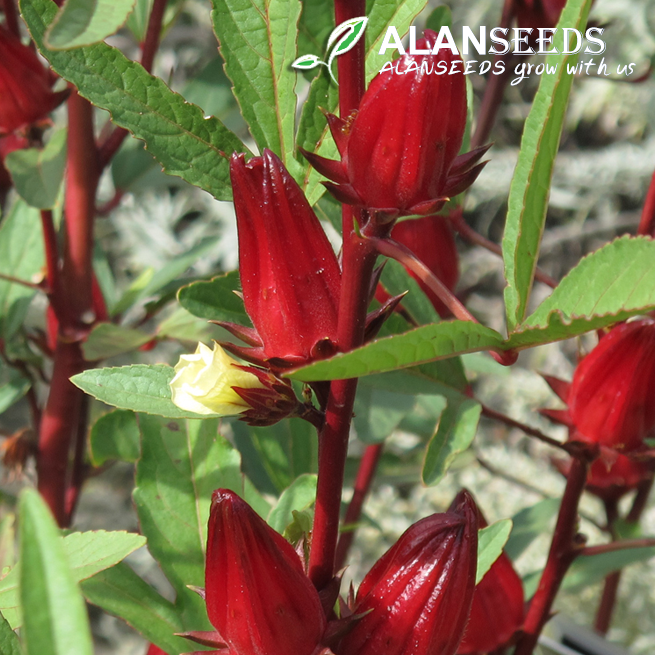
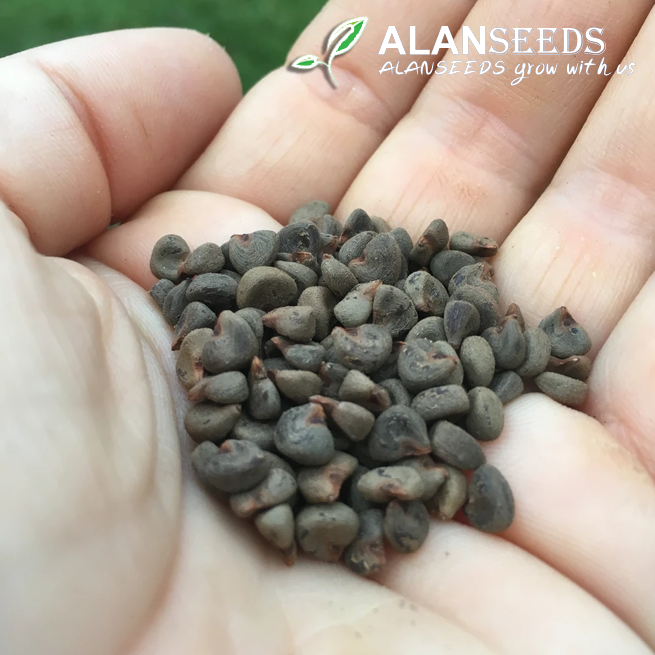
Hey there, green thumbs! Ready to dive into the world of growing Red Hibiscus Roselle? It’s a beautiful flower that’s not only pretty to look at but also super useful. Let’s get you started with this beginner’s guide.


Red Hibiscus Roselle Organic Seeds – Heirloom, Open Pollinated, Non GMO – Grow Outdoors
Step 1: Gather Your Supplies
First things first, gather all your gardening essentials:
- Red Hibiscus Roselle organic seeds (make sure they’re heirloom, open-pollinated, and non-GMO)
- Potting soil or compost
- Planting pots or containers
- Watering can or hose
- Sunny spot in your garden
Step 2: Planting Time!
- Choose the Right Spot: Find a sunny area in your garden. Hibiscus Roselle loves the sun, so make sure it gets plenty of it.
- Prepare the Soil: If you’re using pots, fill them with potting soil. If you’re planting directly into the ground, ensure the soil is well-draining and rich in organic matter.
- Planting the Seeds: Plant the seeds about 1/4 inch deep in the soil. You can plant multiple seeds in one pot, but make sure to space them out.
- Watering: Give your newly planted seeds a good drink of water. Keep the soil moist but not waterlogged.
Step 3: Care and Maintenance
- Watering: Water your plants regularly, especially during dry spells. Aim to keep the soil consistently moist, but be careful not to overwater.
- Sunlight: Ensure your plants get at least 6-8 hours of sunlight per day. They thrive in full sun.
- Fertilizing: You can feed your plants with organic fertilizer every 4-6 weeks to encourage healthy growth. Follow the instructions on the fertilizer package for the best results.
- Pruning: Trim any dead or yellowing leaves to encourage new growth and keep your plants looking neat and tidy.
Step 4: Harvesting
Once your Red Hibiscus Roselle plants start flowering, you’re on your way to harvesting. Here’s how:
- Wait for the Flowers to Bloom: Allow the flowers to fully bloom before harvesting.
- Harvesting the Calyces: The part you’re after is the calyx, which is the fleshy covering around the seed pod. Harvest the calyces when they are plump and juicy.
- Drying: Lay out the harvested calyces in a single layer and let them air dry in a warm, well-ventilated area.
Step 5: Enjoy!
Congratulations, you’ve successfully grown Red Hibiscus Roselle! Now you can enjoy its beauty in your garden and its tangy flavor in teas, jams, and more. Keep experimenting and happy gardening!
Remember, gardening is all about learning and having fun, so don’t be afraid to get your hands dirty and try new things. Happy growing!


