


So, you’ve got your hands on some Winged Bean Organic Seeds, huh? Nice choice! These babies are heirloom, open-pollinated, and non-GMO, meaning you’re in for a treat. Ready to dive into the world of growing these versatile veggies? Let’s get started with this simple, informal, and easy-to-read guide!
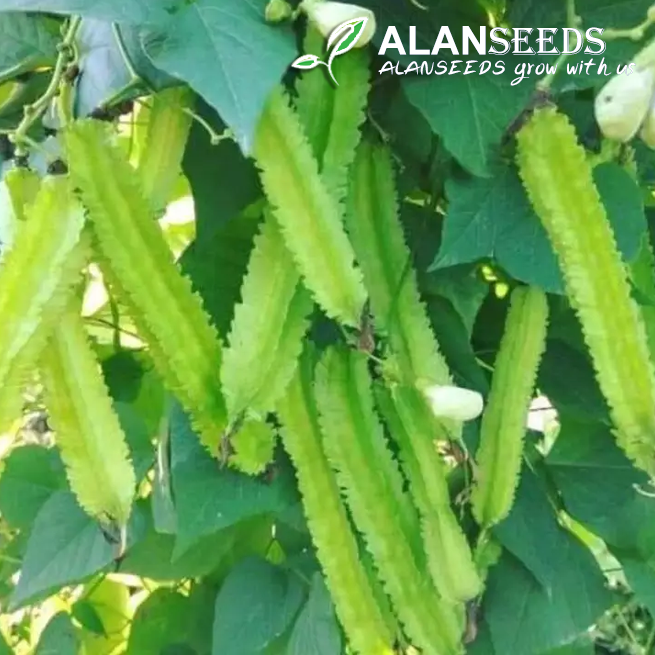
Winged Bean Organic Seeds Heirloom, Open Pollinated, Non GMO
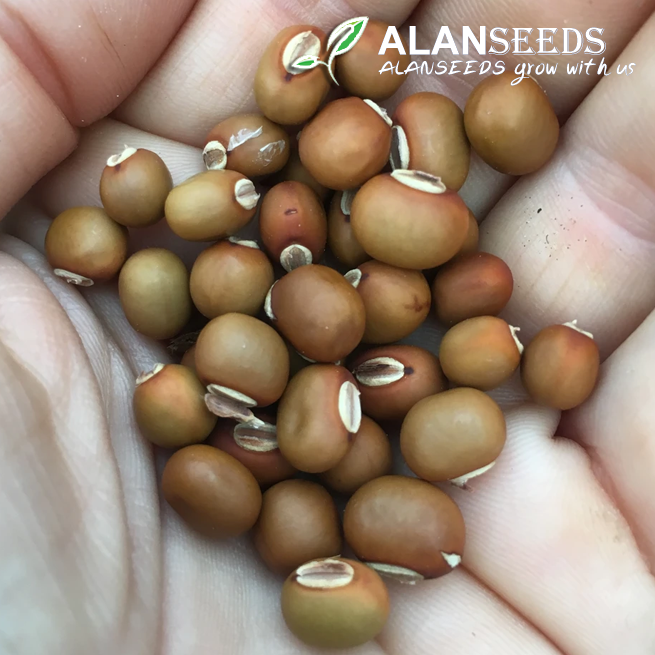
Winged Bean Organic Seeds Heirloom, Open Pollinated, Non GMO
Step 1: Gather Your Supplies
Before you get your hands dirty, make sure you have everything you need:
- Winged Bean Organic Seeds
- Garden space with well-drained soil
- Watering can or hose
- Organic fertilizer (optional)
- Trellis or support for climbing
Step 2: Choose the Right Spot
Find a sunny spot in your garden where your Winged Beans can soak up those rays. These plants love warmth, so make sure they get plenty of sunshine throughout the day. Also, ensure the soil is well-drained to prevent waterlogging.
Step 3: Planting Time
Now comes the fun part – planting your Winged Bean seeds! Plant them about 1 inch deep in the soil, spacing them around 6 inches apart. If you’re planting multiple rows, leave about 3 feet between each row to give them room to spread out.
Step 4: Water, Water, Water
Keep those seeds hydrated! Water your Winged Beans regularly, especially during dry spells. Aim to keep the soil consistently moist but not waterlogged. A good rule of thumb is to water them deeply once or twice a week, depending on the weather.
Step 5: Support Those Vines
As your Winged Beans start to grow, they’ll need something to climb on. Install a trellis or provide some other form of support for them to latch onto. This will help keep your plants upright and make harvesting a breeze.
Step 6: Feed Them Right
While Winged Beans are pretty low-maintenance, a little extra TLC never hurts. You can feed them with organic fertilizer once a month to give them a nutrient boost. Just be sure not to overdo it – these plants are pretty resilient!
Step 7: Harvest Time
Patience pays off – it’s time to reap the rewards of your hard work! You can start harvesting Winged Beans when they’re young and tender, usually around 70-90 days after planting. Simply snap them off the vine, and they’re ready to eat!
Step 8: Enjoy Your Harvest
Now that you’ve harvested your Winged Beans, it’s time to enjoy them! These versatile veggies can be used in all sorts of dishes, from stir-fries to salads to soups. Get creative in the kitchen and savor the delicious flavors of your homegrown produce!
And there you have it – a beginner’s guide to growing Winged Beans! With just a little bit of effort and a whole lot of love, you’ll be enjoying a bountiful harvest in no time. Happy gardening!
