Description
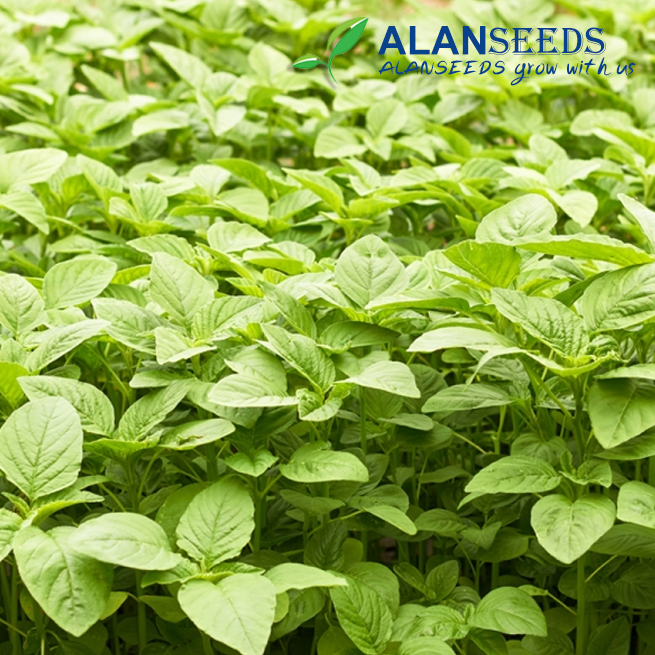
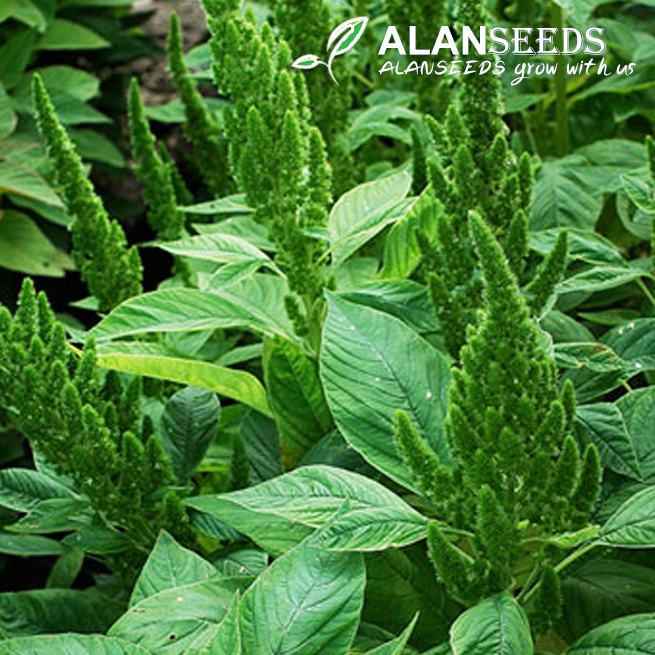
Amaranth Greens Organic Seeds – Heirloom, Open Pollinated, Non GMO – Grow Indoors, Outdoors, In Pots
100% Organic Seeds We offer the highest quality 100% organic seeds online at the best price. All our seeds are non GMO and are harvested using sustainable practices. Most folks don’t need hundreds of single crop seeds for their backyard gardens. We offer smaller batches so you can grow different fruits, vegetables, herbs and spices.
Beginner's Guide to Growing Amaranth Greens
Hey there, green thumbs! Ready to get your hands dirty and grow some awesome amaranth greens? Don't worry if you're new to gardening – we've got you covered with this super simple guide. Let's dive in!
Step 1: Grab Your Seeds First things first, you need some top-notch amaranth seeds. Look for organic ones that are heirloom, open-pollinated, and non-GMO. You can snag these at a garden store or order online. Make sure to pick a variety that suits your space, whether it's indoors, outdoors, or in pots.
Step 2: Find a Sunny Spot Amaranth greens love the sunshine, so pick a spot that gets plenty of it. Whether you're growing indoors or outdoors, find a sunny spot where your plants can soak up those rays. If you're indoors, a sunny window or some grow lights will do the trick.
Step 3: Prep Your Soil Now it's time to get your soil ready. Amaranth greens like soil that drains well and is rich in organic goodness. If you're planting in pots, grab some quality potting mix. For outdoor gardens, mix in some compost to give your plants a nutrient boost.
Step 4: Plant those Seeds Get your hands dirty and plant those seeds! Pop 'em about a quarter-inch deep in the soil and space them out a few inches apart. If you're planting in rows, give 'em some room to stretch out. Give 'em a nice drink of water after planting to help 'em settle in.
Step 5: Keep 'em Watered Keep an eye on your little green babies and give 'em a drink whenever the soil starts to dry out. They like to stay moist but not soggy, so don't drown 'em! Mulching around your plants can help keep the moisture in and the weeds out.
Step 6: Harvest Time Before you know it, those amaranth greens will be ready to harvest. When the leaves are nice and tender, you can start snipping 'em off for your salads, stir-fries, or whatever tickles your taste buds. Just leave the inner leaves to keep on growing.
Step 7: Save Seeds (Optional) Feeling adventurous? You can save some seeds from your mature plants to plant next time around. Let a few plants go to seed, then harvest the seeds once they're nice and dry. Store 'em in a cool, dry spot until you're ready to plant again.
And there you have it – growing your own amaranth greens is as easy as pie! So get out there, get your hands dirty, and enjoy the fruits (well, veggies) of your labor. Happy growing, folks!