Hey there green thumbs! Ready to dive into the wonderful world of growing your own amaranth greens? Whether you’re a seasoned gardener or just getting started, these leafy wonders are a breeze to grow. Plus, with our easy-to-follow guide, you’ll be enjoying fresh, organic amaranth in no time. Let’s get started!

Amaranth Greens Organic Seeds – Heirloom, Open Pollinated, Non GMO – Grow Indoors, Outdoors, In Pots

Amaranth Greens Organic Seeds – Heirloom, Open Pollinated, Non GMO – Grow Indoors, Outdoors, In Pots
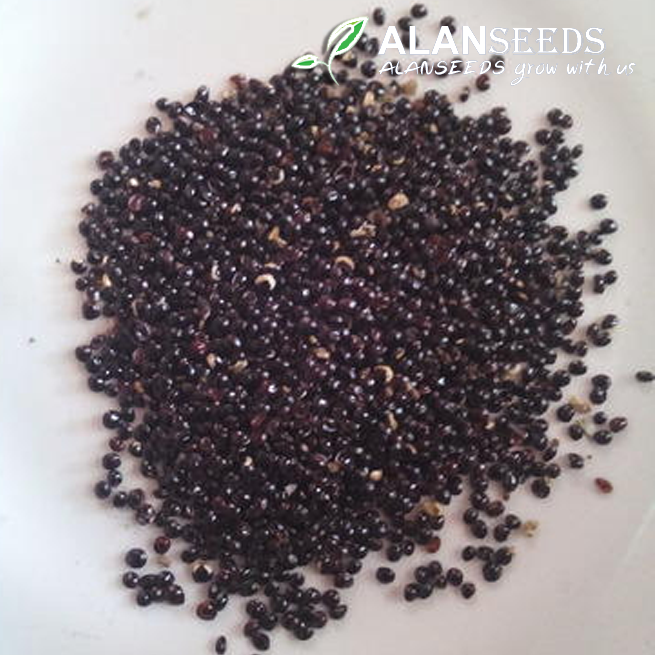
Step 1: Get Your Seeds First things first, you’ll need some quality amaranth seeds. Look for organic, heirloom varieties that are open-pollinated and non-GMO. You can find these at your local nursery or order them online. Make sure to choose a variety suited for your climate and growing conditions.
Step 2: Choose Your Growing Location Amaranth greens can be grown both indoors and outdoors, so pick a spot that gets plenty of sunlight. If you’re growing indoors, place your pots near a sunny window or use grow lights to provide enough light. Outdoor growers, find a sunny spot in your garden or on your balcony.
Step 3: Prepare Your Soil Amaranth greens thrive in well-draining soil with plenty of organic matter. If you’re planting in pots, use a high-quality potting mix. In the garden, amend your soil with compost to improve its texture and fertility. Make sure the soil is moist but not waterlogged.
Step 4: Plant Your Seeds Now it’s time to get those seeds in the ground! Plant them about ¼ inch deep and space them 6-8 inches apart. If you’re planting in rows, space your rows about 12-18 inches apart. Water gently after planting to settle the soil around the seeds.
Step 5: Water and Care Keep your amaranth greens happy by watering them regularly. They like to stay consistently moist, so water whenever the top inch of soil feels dry. Avoid overwatering, as this can cause root rot. Mulching around your plants can help retain moisture and suppress weeds.
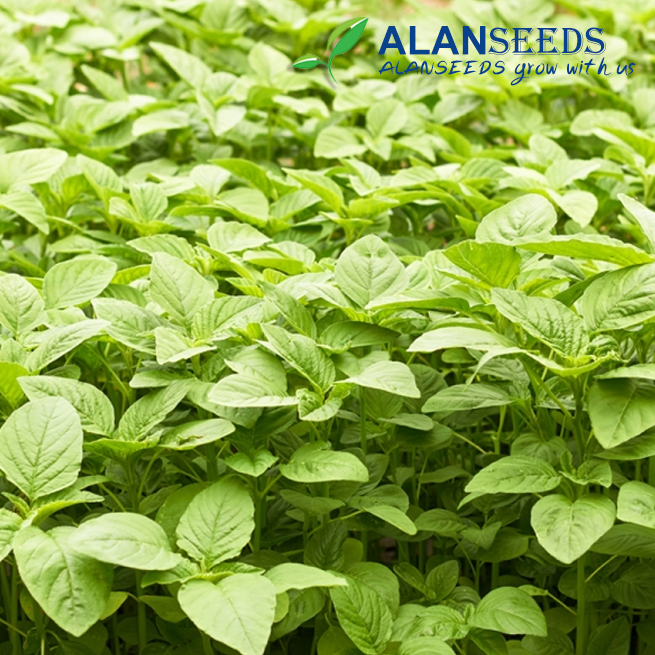
Step 6: Harvest and Enjoy In just a few weeks, your amaranth greens will be ready to harvest! You can start harvesting when the leaves are young and tender, usually about 4-6 inches tall. Simply snip off the outer leaves as needed, leaving the inner leaves to continue growing. Enjoy your fresh, homegrown greens in salads, stir-fries, or as a nutritious side dish.
Step 7: Save Seeds for Next Year If you’re feeling adventurous, you can save some of your amaranth seeds to plant next year. Simply allow some of your plants to mature and produce seeds. Harvest the seeds when they’re fully dry, then store them in a cool, dry place until you’re ready to plant again.
And there you have it – your complete guide to growing amaranth greens! With a little love and attention, you’ll be harvesting your own delicious greens in no time. Happy growing!


