


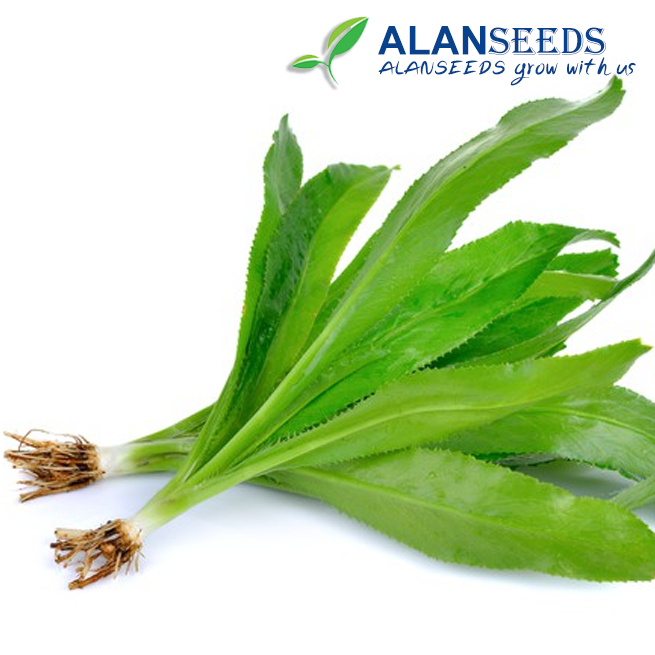
Hey there, green thumbs! Ready to dive into the world of growing your own culantro? Great choice! Culantro is a fantastic herb, especially if you love adding a zing to your Asian dishes. Don’t worry if you’re new to gardening – I’ve got you covered with this easy-peasy guide on growing culantro from organic seeds, whether you’re doing it indoors, outdoors, or in pots. Let’s get started!
Culantro Organic Seeds – Heirloom, Open Pollinated, Non GMO – Grow Indoors, Outdoors, In Pots Asian Herb Garden
What You’ll Need:
- Culantro seeds (Make sure they’re organic, heirloom, open-pollinated, and non-GMO for the best results!)
- Potting soil
- Pots or containers (if you’re growing indoors or in pots)
- Garden space (if you’re growing outdoors)
- Watering can or hose
- Sunlight or grow lights (if growing indoors)
Step 1: Seed Starting (Indoors)
If you’re growing culantro indoors, start by filling your pots or containers with potting soil. Make sure the soil is damp but not waterlogged.
Now, sprinkle your culantro seeds on top of the soil. You don’t need to bury them; just press them lightly into the soil’s surface.
Step 2: Light and Water
Culantro loves sunlight, so place your pots in a sunny spot near a window. If you don’t have enough sunlight, you can use grow lights to supplement.
Water your culantro regularly, keeping the soil moist but not soggy. A good rule of thumb is to water whenever the top inch of soil feels dry.
Step 3: Outdoor Planting
If you’re planting culantro outdoors, choose a sunny spot in your garden with well-draining soil.
Prepare the soil by loosening it with a garden fork or shovel. Then, sprinkle your culantro seeds directly onto the soil surface and cover them lightly with a thin layer of soil.
Step 4: Maintenance
Whether indoors or outdoors, keep an eye on your culantro plants. Make sure to water them regularly and provide support like stakes if they start to get too tall and floppy.
Keep weeds at bay by gently pulling them out of the soil around your culantro plants. You can also mulch around the base of the plants to help retain moisture and suppress weed growth.
Step 5: Harvesting
Once your culantro plants have grown to a decent size (usually within 8-10 weeks), you can start harvesting. Simply snip off the outer leaves as needed, leaving the center of the plant to continue growing.
Harvesting regularly will encourage new growth and ensure you have a steady supply of fresh culantro for your culinary adventures.
Step 6: Enjoy!
Congratulations, you’ve successfully grown your own culantro! Now it’s time to enjoy the fruits of your labor. Add fresh culantro leaves to your favorite Asian dishes, soups, stews, and salads for a burst of flavor that’ll have your taste buds dancing.
Remember, gardening is all about trial and error, so don’t be discouraged if things don’t go perfectly the first time. Just keep experimenting, learning, and having fun with it! Happy growing! 🌱🍃
