Hey there, fellow green thumbs! Ready to dive into the world of growing your own delicious okra? Awesome! Whether you’re a seasoned gardener or just starting out, I’ve got you covered with some straightforward steps to grow okra organically. Let’s get our hands dirty!

Okra Organic Seeds – Heirloom, Open Pollinated, Non GMO – Grow Indoors, Outdoors, In Pots, Grow Beds, Soil, Hydroponics & Aquaponics

Okra Organic Seeds – Heirloom, Open Pollinated, Non GMO – Grow Indoors, Outdoors, In Pots, Grow Beds, Soil, Hydroponics & Aquaponics
1. Choose Your Okra Seeds First things first, you need some quality okra seeds. Look for heirloom, open-pollinated varieties labeled as non-GMO for the best results. You can find these at your local nursery or order them online.
2. Prepare Your Growing Space Okra can thrive both indoors and outdoors, in pots or grow beds. If you’re planting outdoors, make sure the soil is well-drained and gets plenty of sunlight. For indoor or container gardening, choose a spacious pot with good drainage holes.
3. Planting Time Okra loves warmth, so wait until after the last frost to plant your seeds. If you’re starting indoors, sow your seeds in biodegradable pots about 4-6 weeks before the last frost date. For outdoor planting, wait until the soil temperature reaches around 65°F (18°C).
4. Planting Technique Plant your okra seeds about 1 inch deep in the soil or potting mix. Space them around 12-18 inches apart to give them room to grow. Water gently after planting to keep the soil moist but not waterlogged.
5. Watering and Maintenance Okra plants like consistent moisture, so water them regularly, especially during dry spells. Avoid overhead watering to prevent fungal diseases. Mulching around the base of the plants can help retain moisture and suppress weeds.
6. Fertilizing Okra is a relatively low-maintenance plant, but it benefits from occasional fertilization. Use a balanced organic fertilizer or compost tea every few weeks to promote healthy growth and abundant yields.
7. Pests and Diseases Keep an eye out for common pests like aphids, spider mites, and caterpillars. Handpick larger pests and use organic insecticidal soap for smaller ones. Prevent fungal diseases by providing good air circulation and avoiding overcrowding.
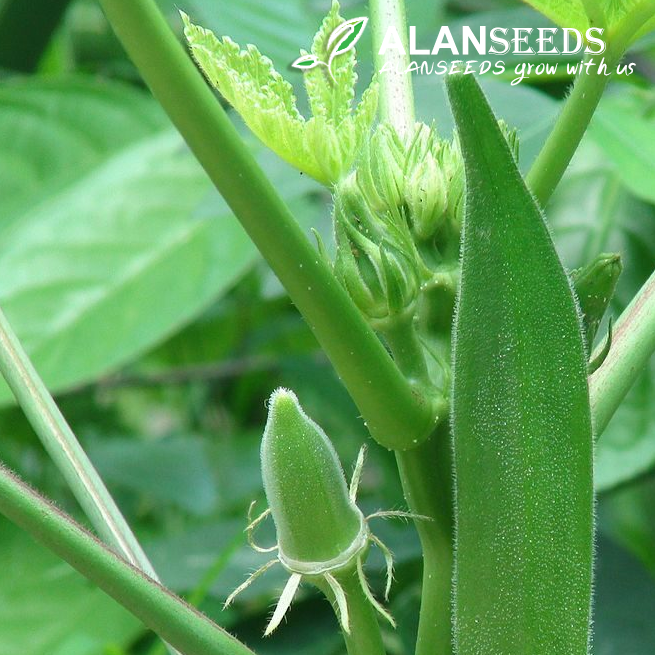
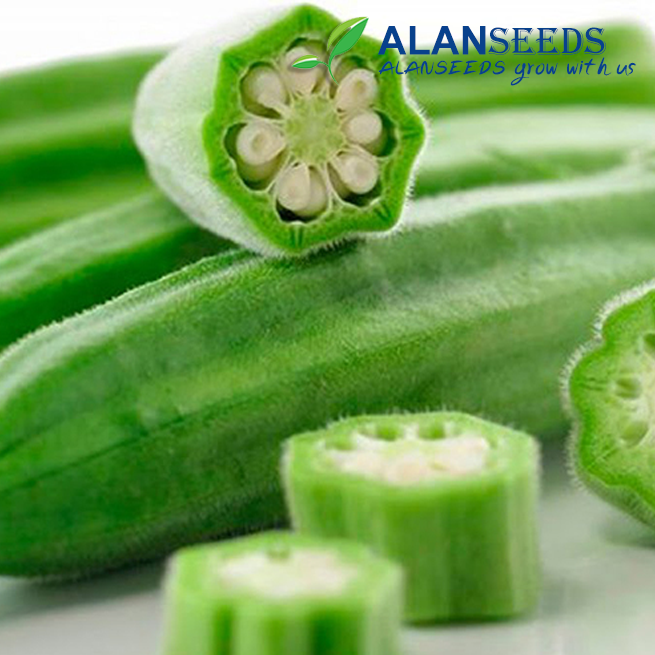
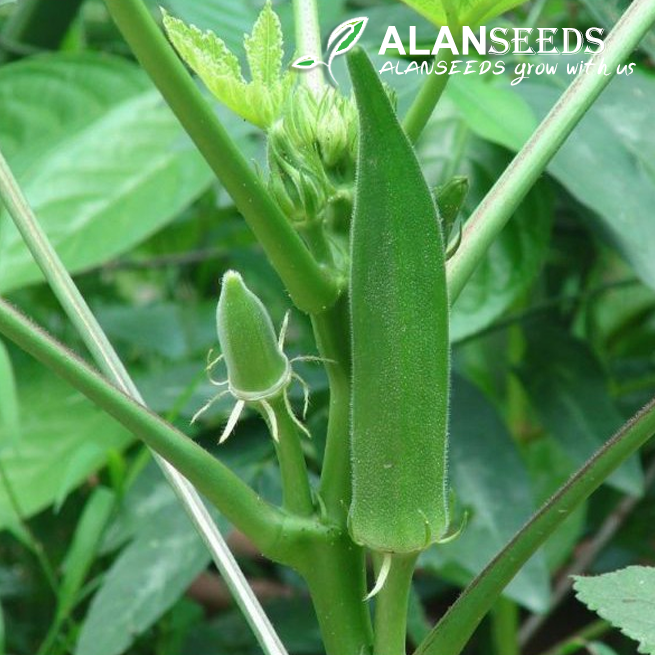
8. Harvesting Okra typically starts producing pods about 2 months after planting. Harvest them when they are around 3-4 inches long for the best flavor and tenderness. Use a sharp knife or scissors to cut the pods from the plant, being careful not to damage the stems.
9. Enjoy Your Okra! Now comes the best part – enjoying the fruits of your labor! Whether you fry them up southern-style, toss them in a stir-fry, or add them to gumbo, fresh homegrown okra is a true culinary delight.
And there you have it, folks – a simple guide to growing your own organic okra. With a little TLC and patience, you’ll be harvesting a bumper crop of tasty okra in no time. Happy gardening!


