


Hey there, fellow plant enthusiast! Ready to dive into the wonderful world of growing your own amaranth greens? Whether you’re a seasoned gardener or just starting out, this beginner’s guide has got you covered. With these simple steps, you’ll be harvesting fresh, nutritious greens in no time!
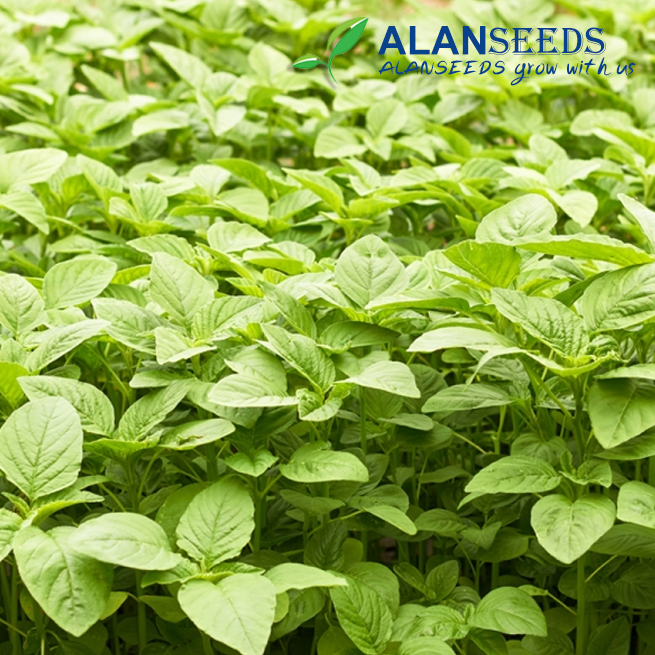
Amaranth Greens Organic Seeds – Heirloom, Open Pollinated, Non GMO – Grow Indoors, Outdoors, In Pots

Amaranth Greens Organic Seeds – Heirloom, Open Pollinated, Non GMO – Grow Indoors, Outdoors, In Pots
Step 1: Gather Your Supplies
First things first, let’s make sure you have everything you need:
- Amaranth seeds (look for organic, heirloom, open-pollinated, non-GMO varieties for the best results)
- Potting soil or compost
- Planting containers (pots, trays, or raised beds)
- Watering can or hose
- Sunny spot (indoors or outdoors)
- Optional: fertilizer or compost tea for extra nourishment
Once you’ve got your supplies together, it’s time to get planting!
Step 2: Planting Your Seeds
Whether you’re growing indoors or outdoors, the process is pretty much the same. Here’s what you need to do:
- Fill your planting containers with potting soil or compost, leaving about an inch of space at the top.
- Sprinkle the amaranth seeds evenly over the soil surface. You don’t need to bury them too deep—just gently press them into the soil.
- Water the seeds lightly to settle them into the soil.
That’s it! Now, all you need to do is give your seeds some love and attention as they start to grow.
Step 3: Care and Maintenance
Amaranth greens are pretty low-maintenance, but they still need a bit of care to thrive. Here’s what you should do:
- Keep the soil consistently moist, but not waterlogged. Aim to water your plants whenever the top inch of soil feels dry.
- Place your containers in a sunny spot where your amaranth can soak up at least 6-8 hours of sunlight per day.
- If you’re growing indoors, consider using a grow light to supplement natural sunlight.
- Once your amaranth plants reach about 6 inches tall, you can start harvesting the outer leaves for a continuous supply of greens.
Step 4: Harvesting Your Greens
Harvesting your amaranth greens is easy-peasy! Here’s how to do it:
- Use a pair of clean scissors or garden shears to snip off the outer leaves, leaving the inner leaves and growing tip intact.
- Harvesting from the outer leaves encourages new growth and keeps your plants producing fresh greens for longer.
- Enjoy your freshly harvested amaranth greens in salads, stir-fries, soups, or smoothies!
Step 5: Troubleshooting
If you run into any issues along the way, don’t panic! Here are a few common problems and how to deal with them:
- Pests: Keep an eye out for aphids, caterpillars, or other pesky critters. You can pick them off by hand or use an organic insecticidal soap to control infestations.
- Diseases: Powdery mildew and damping-off can sometimes affect amaranth plants. Make sure your containers have good drainage, and avoid overhead watering to prevent fungal growth.
- Nutrient Deficiencies: If your plants start looking pale or stunted, they might need a little extra nourishment. Consider feeding them with a balanced fertilizer or compost tea to boost their growth.
And there you have it—your complete beginner’s guide to growing amaranth greens! With a little bit of love and attention, you’ll be enjoying your own homegrown harvest in no time. Happy growing! 🌱
